
Watch full videos

We’re very close now. All we have to do is attach the binding to the quilt! There are a few separate steps here. Give yourself time to get this right. A nicely-crafted binding can really bring a quilt together.
First, loosely lay the binding around your quilt. You want to place the start of the binding so it doesn’t begin right at a corner. Slide it in 12 inches or so. You also want to avoid having any of the seams of the binding overlap a corner. That extra material will be noticeably bulky. Align the open edges of the binding with the outer edge of the quilt. Face the folded edge of the binding towards the center.
Next you’ll pin the binding onto the top of the quilt. You don’t want any slack in your binding as you pin. I hold the quilt down with my left hand, and give a light tug to the binding with my right. Then smooth it across with my right hand and pin it down. Don’t pull the binding so tight that the quilt is buckling. Pins should be about a hand width apart.
On the corners you’ll need to leave a little extra material. To do this, you’ll make a small double fold with the binding. There will be a small tunnel formed by the extra fabric and you’ll pin on both sides of those folds.


Continue pressing, smoothing, and pinning the binding all the way around. Making sure to leave that extra material at the corners. When you get back around to the start of the binding you can leave 6 inches or so unpinned between the start and end.
Now we’re going to machine stitch the binding to the top of the quilt. Leave yourself 6 inches unsewn from the start and end of the binding so that you have some slack to attach them together. Feed the whole quilt into your machine. Guide and smooth the quilt into the machine with your right hand and pull it through with your left. Use the same ¼ inch seam allowance and backstitch on both ends. Be sure to leave the tunnel at the corners unstitched, stopping at the pins on either side of the fold.
After you have machine stitched the binding on, you can connect the ends of the binding together. This is probably the most difficult part of the quilt. It’s difficult to visualize exactly where to cut it and where to sew. For your first few tries, I would leave an extra 3 or 4 inches when you cut, just in case.
It’s very similar to the previous step of attaching the strips together, except both ends of the binding are now sewn onto the quilt. I like to tuck the end of binding strip into the fold of the beginning, like a little envelope. Then, you can draw your seam line with a pencil where they overlap. But don’t cut directly on that line! Open up the fold and use a ruler to draw a second line a ¼ inch from the first to give yourself room for the seam allowance. That’s the line that you can cut. However I would give yourself an extra 3 or 4 inches here your first time.
Then pin the two ends together to prepare them for sewing. It will feel like it’s pulling the quilt tight. It’s also a little tricky to determine which side to sew on, but check twice before cutting or sewing. Run it through the machine, open the seam, and smooth it out on your quilt. You made it!
Now run the whole quilt through the machine again, reinforcing that first machine stitch around the perimeter. This time we’ll go over the start and end of the binding that you just connected. Make sure to still leave the corners open.

Lastly we just need to fold over that binding and stitch it to the backside. Before you do that, I recommend taking some nice sharp scissors and trimming the extra fluff and material on the edges of the quilt. This will remove some of the bulk and make for a more consistent edge. Be sure not to cut off any knots from your hand quilting.
After trimming the edges you can fold over the binding and pin it to the backside. You want to pull it far enough around so that you’re covering the machine-stitched line on the back. I use a lot of pins here because it makes the final hand stitching go much faster.

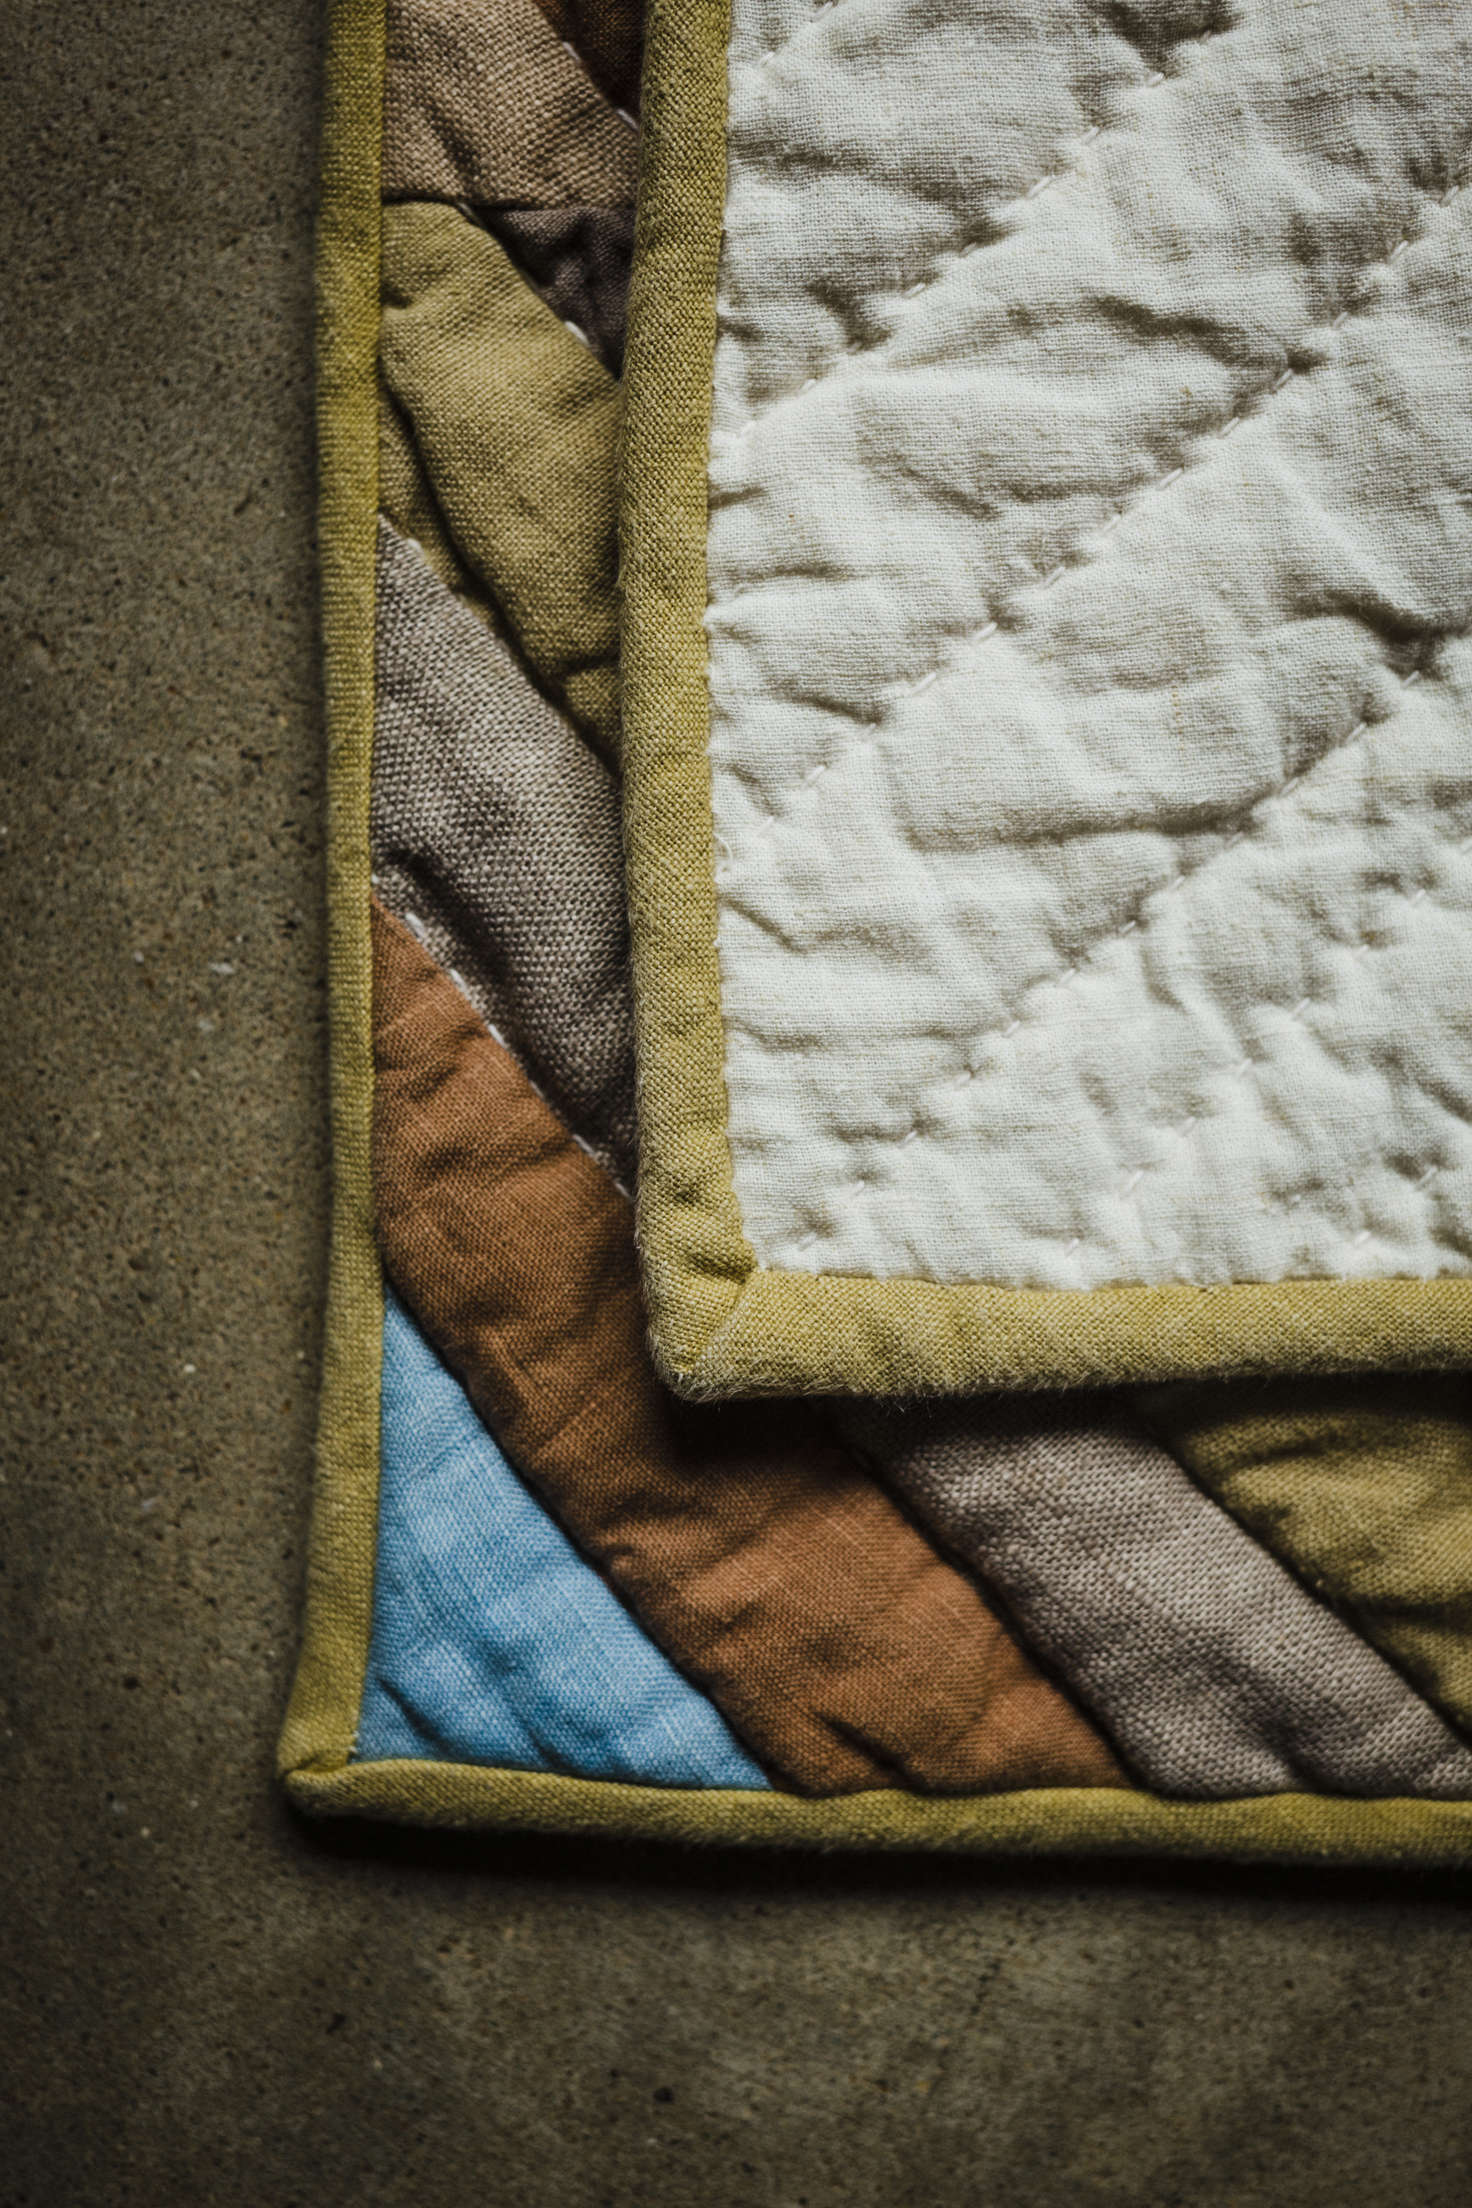
The corners on the backside will have that extra material you can use to make a nicely mitered seam. You’ll tuck the fabric in one direction and fold over from the other side making a clean 45-degree angle. Pin the corner right at the edge of the overlap, on the inside of the quilt.
And finally we’ll use a simple tunneling stitch to attach the binding to the backside. You can use the same thread that you used to construct your blocks with, but you will need a needle for hand stitching (the sashiko needle will be too large). Your thread will mostly be hidden in the fold of the binding, only escaping every ¼ inch to grab a couple threads from the backside and then returning into the tunnel. This is also referred to as a “hemming stitch.”
At the corner you’ll continue tunneling, but instead of grabbing any of the folded fabric, you’ll simply tack down where the two points meet on the inner side of the quilt. Continue around your entire quilt, using as many pieces of thread as you need to.