
Watch full videos

I get a jolt of energy when I finish all the blocks for a quilt. It starts to seem real when you can lay everything out and get a glimpse of it fitting together. You’ll want a large, flat surface. If you don’t have a big enough table then a clean floor will work.
When you arrange the blocks you’re looking for an overall sense of balance. You want an equal distribution of colors, seam directions, and piece sizes. If there’s a strong contrast on one of your blocks, position it along an edge to prevent it from drawing attention. It is also fun to play with the rotation of the blocks. Spinning the pieces may reveal an unexpected pattern.
Build a Quilt
![]() Select a block style
Select a block style


![]() Tap to rotate and drag to move
Tap to rotate and drag to move
There’s no right or wrong order. Embrace the freedom. This is a part of what makes each quilt as unique as the quilter. Some tricks I use for nailing down the final arrangement:
- Squinting your eyes
- Stepping back to look from a distance
- Asking a friend
I also like to take a photo of the arrangement. This can help you see any visual outliers. The goal is to prevent any single area from being a focal point. You want your eye to smoothly flow through the quilt without getting jarred by anything feeling out of place.
Once you’re happy with the position of the blocks, it’s time to sew them together. If you’re concerned with the exact size of the finished piece remember to take seam allowances into account. The top will be slightly smaller once it’s all sewn together. If you wish to make your quilt bigger, this is the time to make a few more blocks. I highly recommend making all your blocks before attaching any together. I’ve broken this rule and always regret it.
Sewing the blocks together is a two-step process. First, sew the blocks into horizontal strips. Connect each row in order, like building a chain link by link. Take your time here and pin the corners of the blocks together. You’ll want these as straight as you can make them.
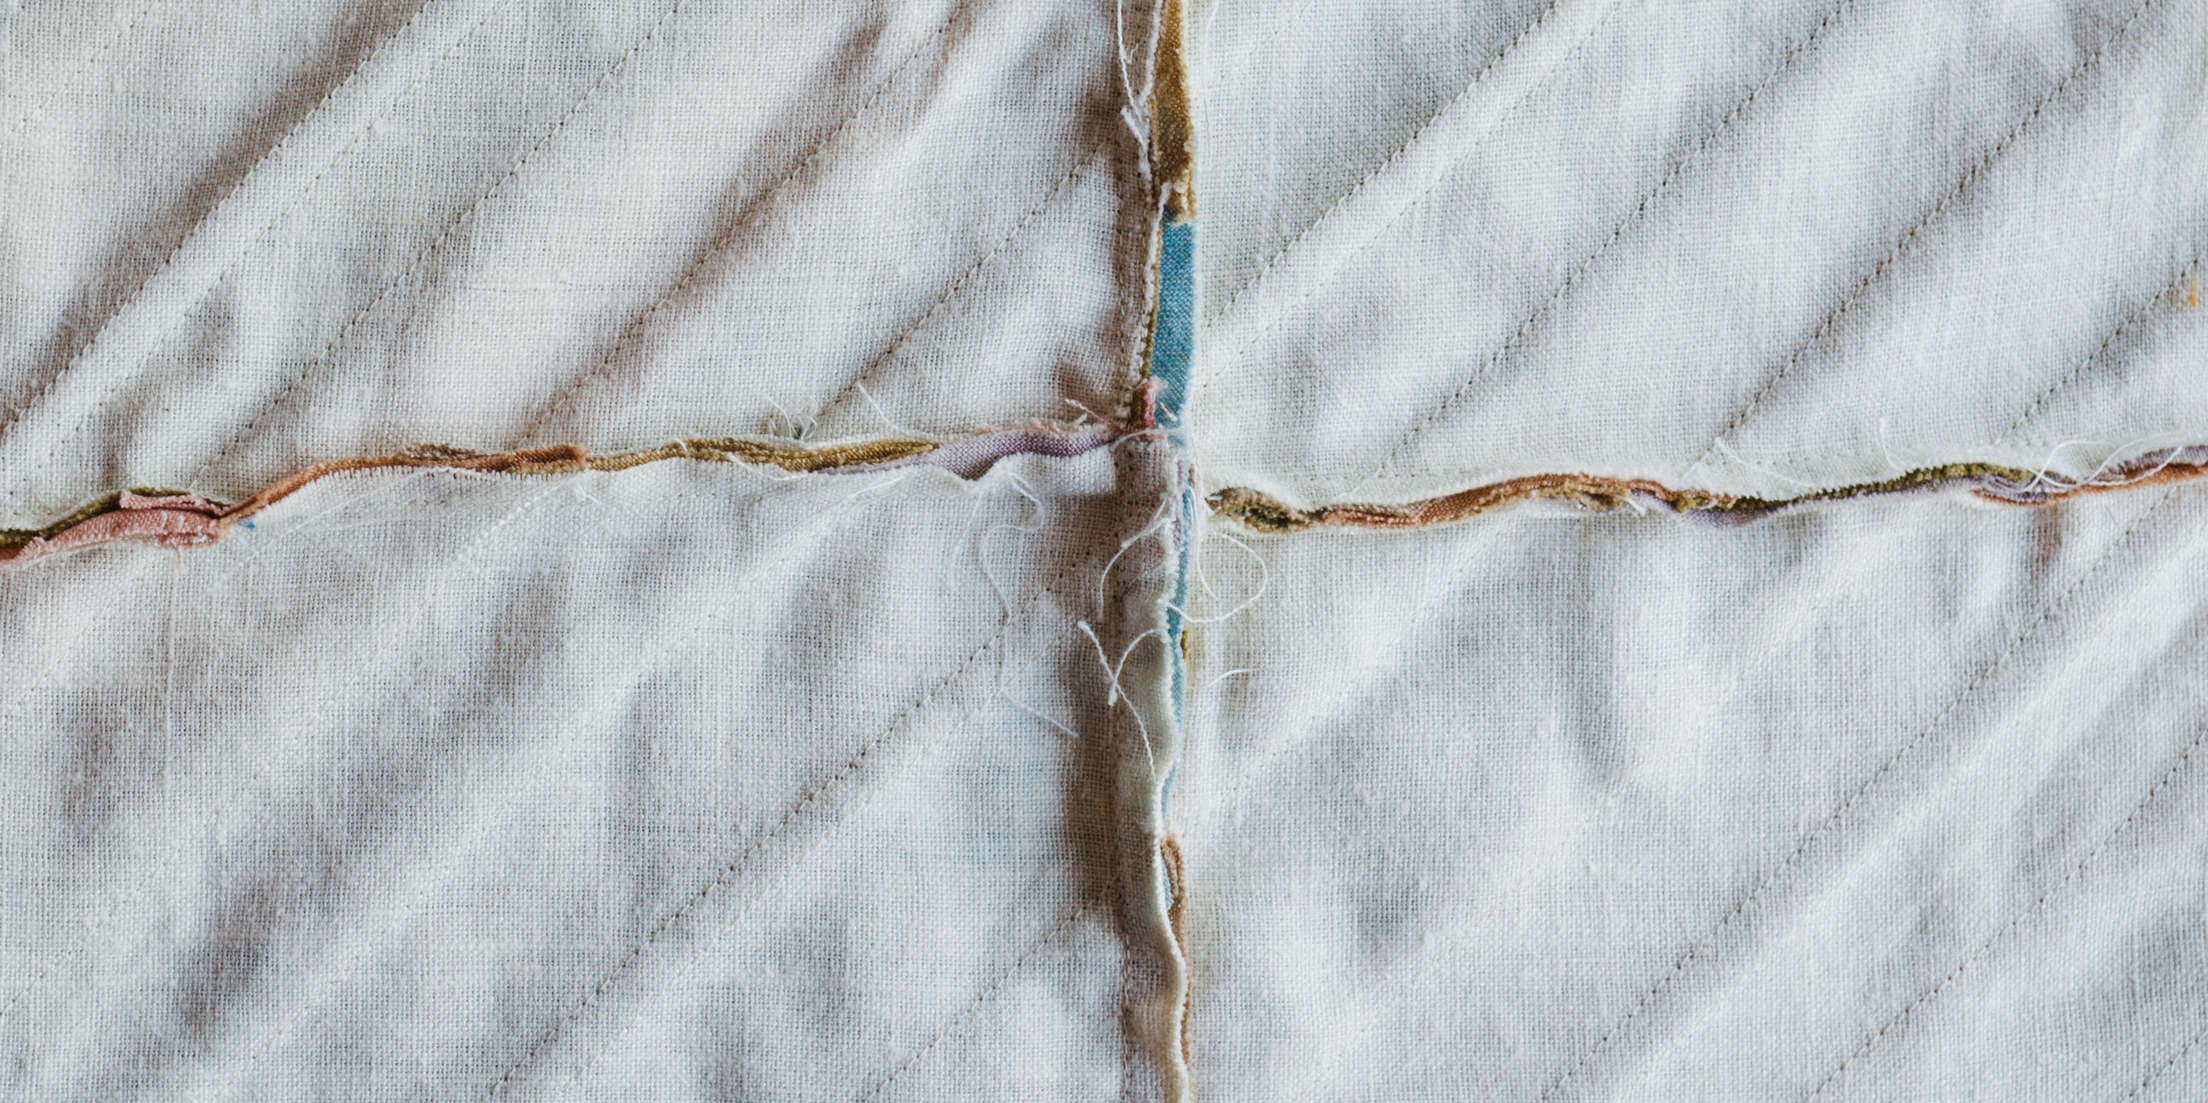
Once you have all of the horizontal block rows sewn, you can begin attaching them to each other. Again, you’ll want to use pins. I start in the middle of the rows. Each seam has four blocks coming together and this intersection should be as square as possible. Continue outwards, aligning and pinning each block’s seam. Then smooth the fabric between the seams and fill pins in between. Feed the stacked rows through your machine, watching to make sure none of the seams have flipped back on itself.

Don’t stress too much if things don’t come together perfectly. I’ve done my fair share of seam-ripping and there’s always room to improve. This particular quilt design naturally obscures places where alignment isn’t flawless. Relax and enjoy the feeling of learning. The next quilt you make will be a little straighter than this one. Guaranteed.
The next step is assembling all the layers of the quilt together →